Capturing Myself: A Walkthrough of Taking a Self Portrait
Capturing Myself: A Walkthrough of Taking a Self Portrait
Anytime I get a new piece of photography equipment, I immediately try to find a project to put it to use. So, after acquiring two new PocketWizard PlusX wireless flash triggers, I decided to take a self portrait and document the entire process. If you want to know Photos by Brandon & Joy's workflow, this is a peek into how we make the magic happen.
The Equipment and Setup
Before you even get behind the camera, it's important to make sure you have a proper environment setup. Location, positioning, backgrounds, small details in the scene, and numerous other small things really add up when taking a picture.
For the location I used our living room. One of our new chairs against the fireplace made for an excellent backdrop:

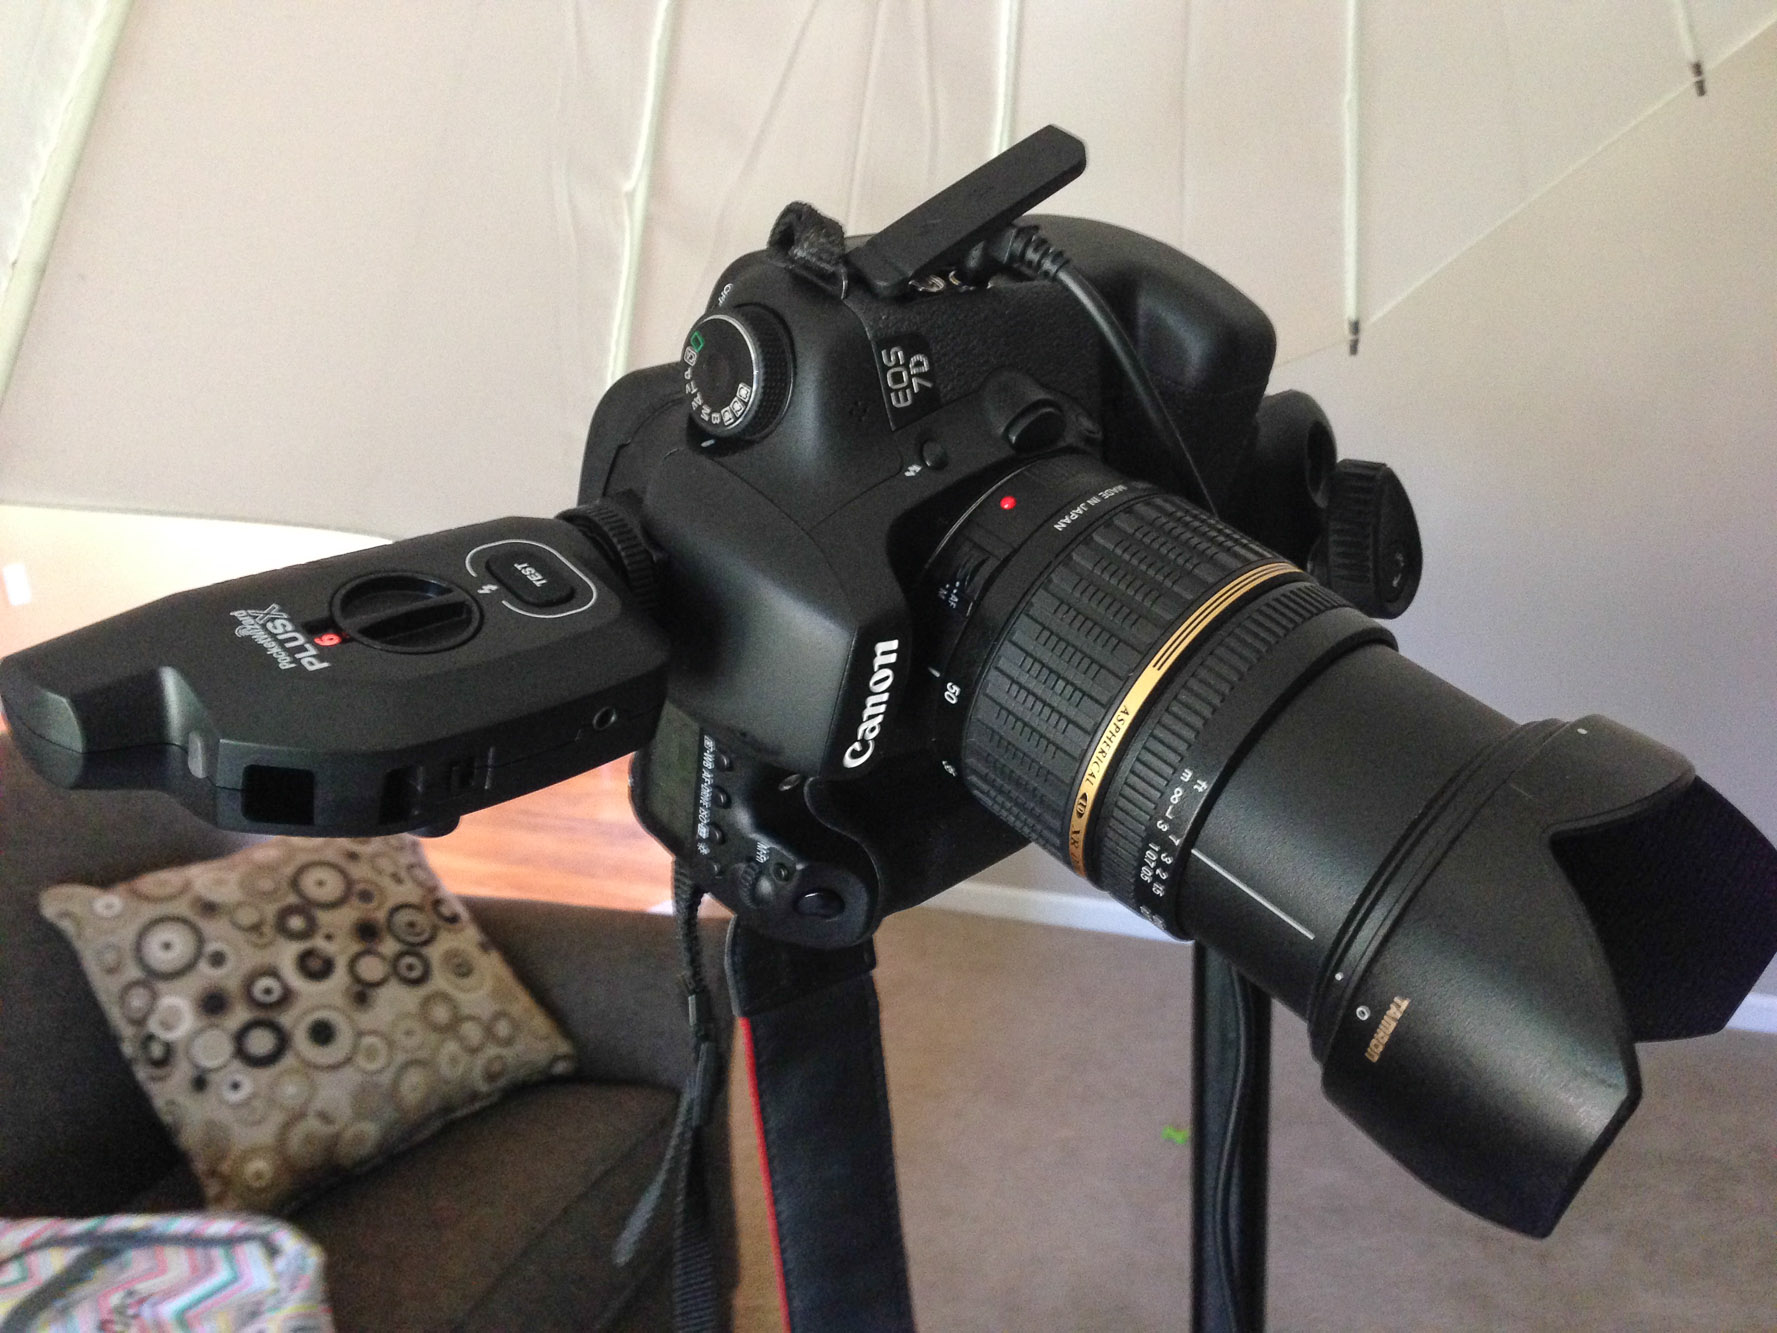
For camera position, I decided to go with a portrait-oriented photo. In this scenario, I used the tripod since I wouldn't be able to hold the camera and take a photo of myself at the same time (I'm not that talented, or flexible!). The camera was angled downward to add a more flattering look to my face (i.e. shave off a few pounds):
For the lighting, only one strobe was used: the AlienBees B800. The light was positioned relatively high to avoid large catch lights on my glasses, but still provide a nice catch off my eyes. For a more "straight on" lighting, it was placed just off camera center.

Something that I pride myself in is the ability to setup a mini-studio just about anywhere. One of the things that helps us achieve that is our battery pack for the strobes; I'm not hindered by a cable or extension cord running to an outlet, and I can move the light around as the scene sees fit:

Since I wouldn't be able to press the camera's shutter button, a remote was needed. This let me press the shutter, as well as set a timer or intervals to try different poses:

And finally, this is what I saw as I was sitting in the chair:

Taking the Photo
Before I even sat in front of the camera, I framed the shot based on the chair and the background. I tried to get a nice balance between the two, since the pattern on the chair added such a nice contrast to the "flatness" of the brick behind it. Once I was happy with the framing, I could finally sit down.
Since it was a self portrait, I was almost entirely dependent on good guesses for my posing. I tried to first set myself square to the camera, then tilt my left shoulder slightly away while keeping my head straight. From there it was just a matter of capturing a good expression (which took about 20 pictures!).
Editing and Digital Workflow
Here is the original photo I picked from the shoot:

Before we start editing our picked photo, though, we need to use the photo taken with our neutral cards to adjust for white balance. I normally shoot with just the gray card, but for effect I shot with all three:

That setting can then be copied and applied to our original photo:

Next, I normally crop the photo to what I think looks ideal:

Exposure, contrast, and tone are then adjusted to get the photo to look just right:

Then skin is softened, as well as other masked adjustments (dodging, burning, whitening teeth, etc):

Blemishes and other imperfections are removed using spot healing and cloning:

Then any other "full image" adjustments are done, such as sharpening, noise reduction, vignettes, etc:

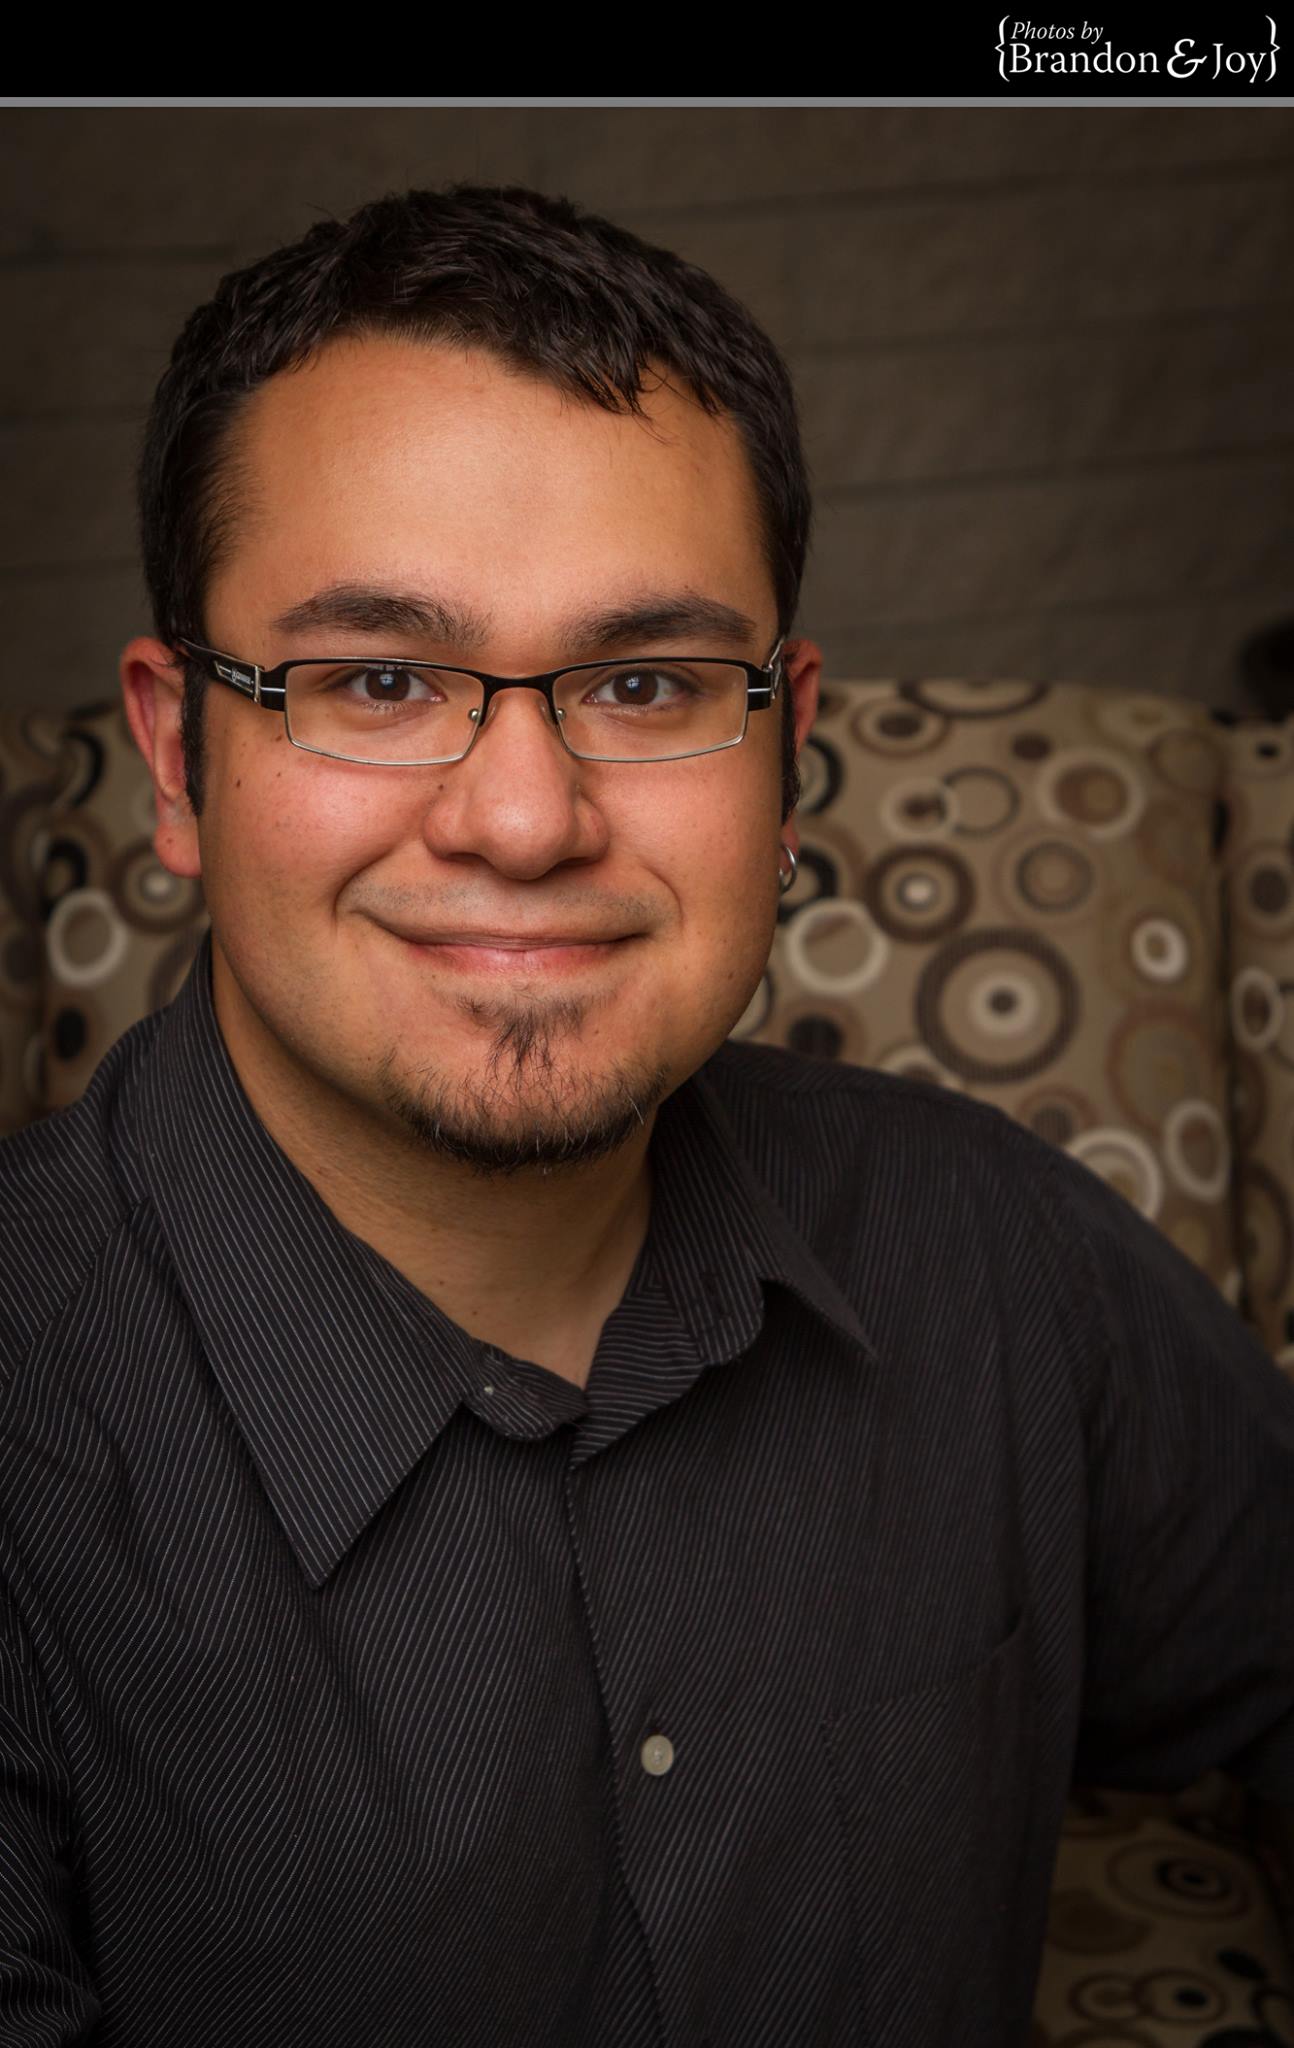
And finally, we have our completed portrait:

Conclusion
Overall, I'm very happy with how this turned out. Even more flattering, some people even thought Joy had taken the picture, not me! Obviously, this process would be even faster with Joy helping out, but for being a quick self portrait I did on my lunch break, I think this is amazing.
Also to keep in mind, Joy and I try to be this detailed in every photo we shoot. We love portraiture because it gives us a chance to take control of a scene and subject, and bring them to life in an authentic photo. If you're interested in having us come out and do portraits or an event, please contact us!